
This hearty white chicken chili is the ultimate solution for busy weeknights, delivering deep, comforting flavors in under an hour. By utilizing the pressure cooking method, the chicken breast stays exceptionally succulent while the beans and spices meld into a rich, creamy broth. It is a foolproof, one-pot meal that requires minimal cleanup and delivers satisfying results for the whole family.
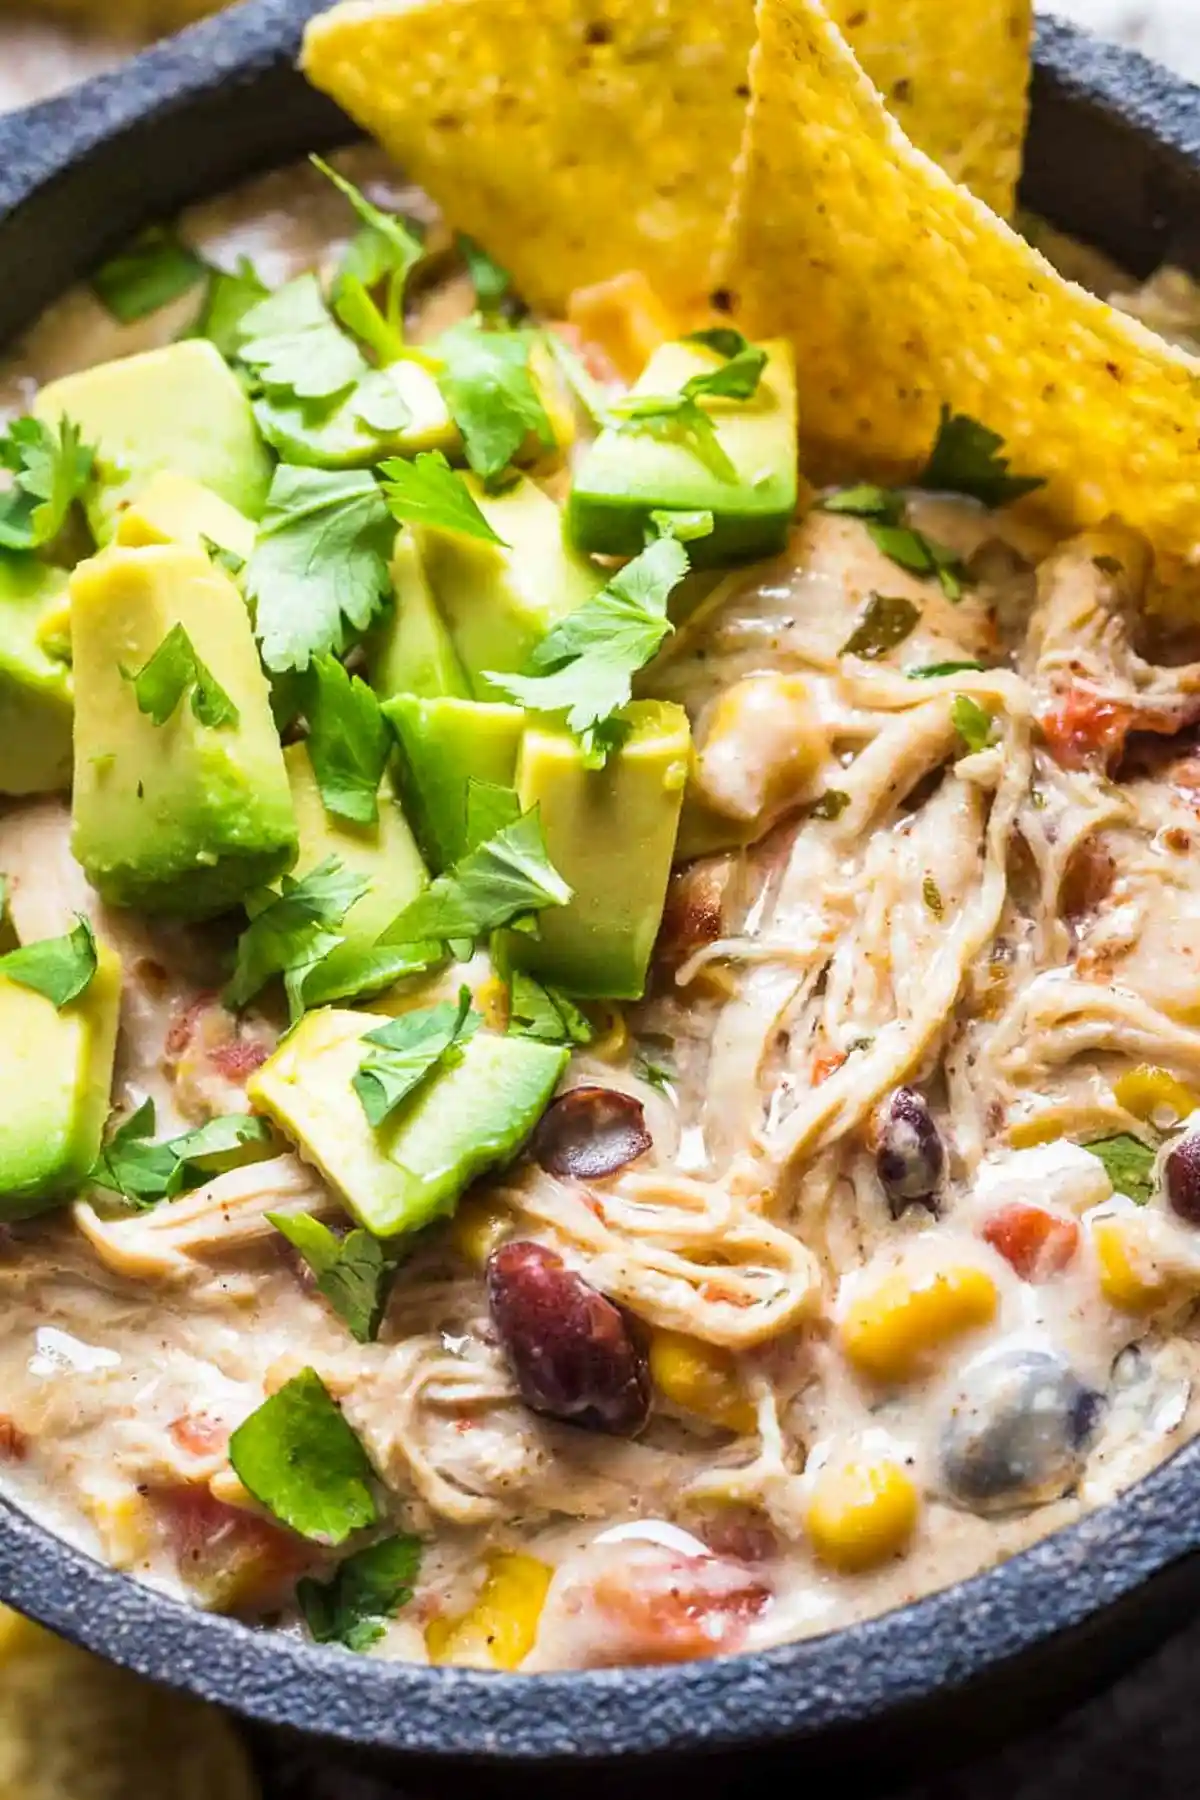
List of ingredients
- 2 large chicken breasts
- 15 oz can black beans (drained and rinsed)
- 15 oz can white beans (drained)
- 1 medium onion (chopped)
- 15 oz can corn with juice
- 10 oz can Rotel diced tomatoes with green chilis (with their juice)
- 1/2 cup chicken broth or stock
- 1 tsp chili powder
- 1 tsp cumin powder
- 0.4 oz packet ranch dip or dressing mix
- 8 oz package cream cheese (cut into 6 pieces)
- 1/2 cup chopped cilantro (for garnish)
- 1 avocado (diced, for garnish)
step-by-step instructions
- Step: Place all of your ingredients into your instant pot bowl in the following order: 2 chicken breasts, drained black and white beans, chopped onion, corn with juice, tomatoes with juice, and 1/2 cup chicken broth.
- Step: Add 1/2 to 1 tsp chili powder, 1 tsp cumin, and ranch packet. Stir everything to combine, ensuring juice is under the chicken.
- Step: Cut cream cheese into 6 pieces and place over the top of chili. Cover and seal with lid, switch the valve to the sealing position and cook for 20 minutes on manual high pressure.
- Step: Once done, let it naturally depressurize for 10 minutes then switch the valve to the venting position to completely release steam before opening lid.
- Step: Remove the chicken breasts to a plate and shred with 2 forks. Stir everything together in the pot to melt the cream cheese, then return the shredded chicken and stir to combine. Serve garnished with avocado and cilantro.
Keys to Success
Managing Heat Levels
The heat level in this recipe is largely determined by the chili powder and the diced tomatoes with green chilis. If you are serving this to guests who prefer very mild flavors, consider reducing the chili powder to 1/2 teaspoon. You can also opt for mild-labeled canned tomatoes with green chilis to ensure the heat remains manageable.
Preventing Scorching
Modern pressure cookers require sufficient thin liquid at the bottom of the pot to build pressure without triggering a burn sensor. By ensuring the broth and the juices from the canned vegetables are distributed at the bottom of the pot, you provide the necessary moisture. Always place the chicken breast toward the center and ensure it is not pressed hard against the bottom of the steel insert.
Achieving the Perfect Creamy Consistency
The cream cheese is the secret to a thick, satisfying texture in this chili. Placing it on top before cooking prevents it from sticking to the heating element at the base. Once the pressure cooking cycle is complete, the residual heat makes the cream cheese incredibly easy to whisk into the broth, creating a smooth and restaurant-quality sauce.
Substitutions and Adjustments
Bean Varieties
While black and white beans are traditional for this dish, you can substitute with cannellini, great northern, or navy beans. These varieties hold their shape well under pressure while providing the necessary creaminess. Always ensure your canned beans are thoroughly drained and rinsed to control the salt and starch levels in the finished broth.
Protein Alternatives
If you prefer using different cuts of poultry, boneless skinless chicken thighs work exceptionally well in this recipe. They offer a slightly higher fat content, which can result in even more tender meat after pressure cooking. Simply adjust the cooking time if using larger, thicker pieces to ensure they are fully cooked through to the center.
Serving Ideas
Creating a Topping Station
Offering a variety of toppings allows everyone to customize their bowl to their own preference. Beyond the suggested cilantro and avocado, consider setting out shredded cheddar or Monterey Jack cheese. A squeeze of fresh lime juice just before eating can also brighten the flavors significantly and cut through the richness of the cream cheese.
Serving Bases
This chili is versatile enough to be served as a soup, a stew, or a main dish. Serving it over a hot baked potato creates a substantial meal that is perfect for cold weather. Alternatively, keeping it simple with a side of crispy corn tortilla chips provides a welcome textural contrast to the soft beans and tender shredded chicken.
Storage and Reheating
Proper Refrigeration
Store any leftover chili in an airtight container in the refrigerator for up to three days. As it sits, the flavors will continue to meld, often making the dish taste even better the following day. Always allow the chili to cool to room temperature before sealing the container to avoid excess condensation.
Reheating Methods
You can reheat individual portions in the microwave by heating in one-minute intervals and stirring in between. If you prefer the stovetop, place the chili in a saucepan over medium-low heat. Add a splash of water or extra chicken broth if the sauce has thickened too much during storage, stirring occasionally until heated through.
Commonly Asked Questions
Can I freeze this chili for later?
Yes, this recipe freezes quite well. Store it in a freezer-safe container, leaving a little room at the top for expansion, for up to three months. Thaw the chili in the refrigerator overnight before reheating it on the stovetop to ensure the best texture.
What is the benefit of natural release?
The natural release allows the internal temperature of the chicken to gently finish rising without the proteins seizing up. This slow transition helps keep the chicken fibers tender rather than stringy or dry. It is a vital step for achieving the melt-in-your-mouth texture this recipe is known for.
Can I use dry beans instead of canned?
Using dry beans requires a significant change in the cooking process, as they need much more time and liquid to soften. It is highly recommended to stick with canned beans for this specific method to ensure the timing matches the chicken’s cooking cycle. Using canned beans also guarantees consistent results every time you prepare the meal.
What if I do not have a ranch packet?
If you prefer to skip the packet, you can make your own seasoning blend using a mix of dried parsley, dill, garlic powder, onion powder, and a touch of black pepper. While the store-bought ranch mix provides a specific tang, a homemade blend allows you to control the exact sodium levels in your chili. Add a small pinch of salt if you choose this route, tasting the broth before the final stir to ensure it reaches your desired seasoning level.
Print
Instant Pot White Chicken Chili Recipe
- Total Time: PT50M
- Yield: 8 servings 1x
- Diet: High Protein
Description
This White Chicken Chili is done in less than an hour start to finish in the Instant Pot with melt-in your mouth tender chicken. Stir everything together in the instant pot, top with cream cheese and set for 20 minutes.
Ingredients
- 2 large chicken breasts
- 15 oz can black beans (drained and rinsed)
- 15 oz can white beans (drained)
- 1 medium onion (chopped)
- 15 oz can corn with juice
- 10 oz can Rotel diced tomatoes with green chilis (with their juice)
- 1/2 cup chicken broth or stock
- 1 tsp chili powder
- 1 tsp cumin powder
- 0.4 oz packet ranch dip or dressing mix
- 8 oz package cream cheese (cut into 6 pieces)
- 1/2 cup chopped cilantro (for garnish)
- 1 avocado (diced, for garnish)
Instructions
- Step: Place all of your ingredients into your instant pot bowl in the following order: 2 chicken breasts, drained black and white beans, chopped onion, corn with juice, tomatoes with juice, and 1/2 cup chicken broth.
- Step: Add 1/2 to 1 tsp chili powder, 1 tsp cumin, and ranch packet. Stir everything to combine, ensuring juice is under the chicken.
- Step: Cut cream cheese into 6 pieces and place over the top of chili. Cover and seal with lid, switch the valve to the sealing position and cook for 20 minutes on manual high pressure.
- Step: Once done, let it naturally depressurize for 10 minutes then switch the valve to the venting position to completely release steam before opening lid.
- Step: Remove the chicken breasts to a plate and shred with 2 forks. Stir everything together in the pot to melt the cream cheese, then return the shredded chicken and stir to combine. Serve garnished with avocado and cilantro.
Notes
Ranch dressing mixes come in differing sizes (0.4 to 1.5 oz). It should be enough to make 16 oz of dressing or dip per package instructions. Always read your pressure cooker instruction manual prior to use.
- Prep Time: PT30M
- Cook Time: PT20M
- Category: Main Course
- Method: Pressure Cooking
- Cuisine: American
Nutrition
- Serving Size: 1 cup
- Calories: 308 kcal
- Sugar: 4 g
- Sodium: 451 mg
- Fat: 11 g
- Saturated Fat: 5 g
- Unsaturated Fat: 6 g
- Trans Fat: 0 g
- Carbohydrates: 36 g
- Fiber: 8 g
- Protein: 17 g
- Cholesterol: 49 mg