
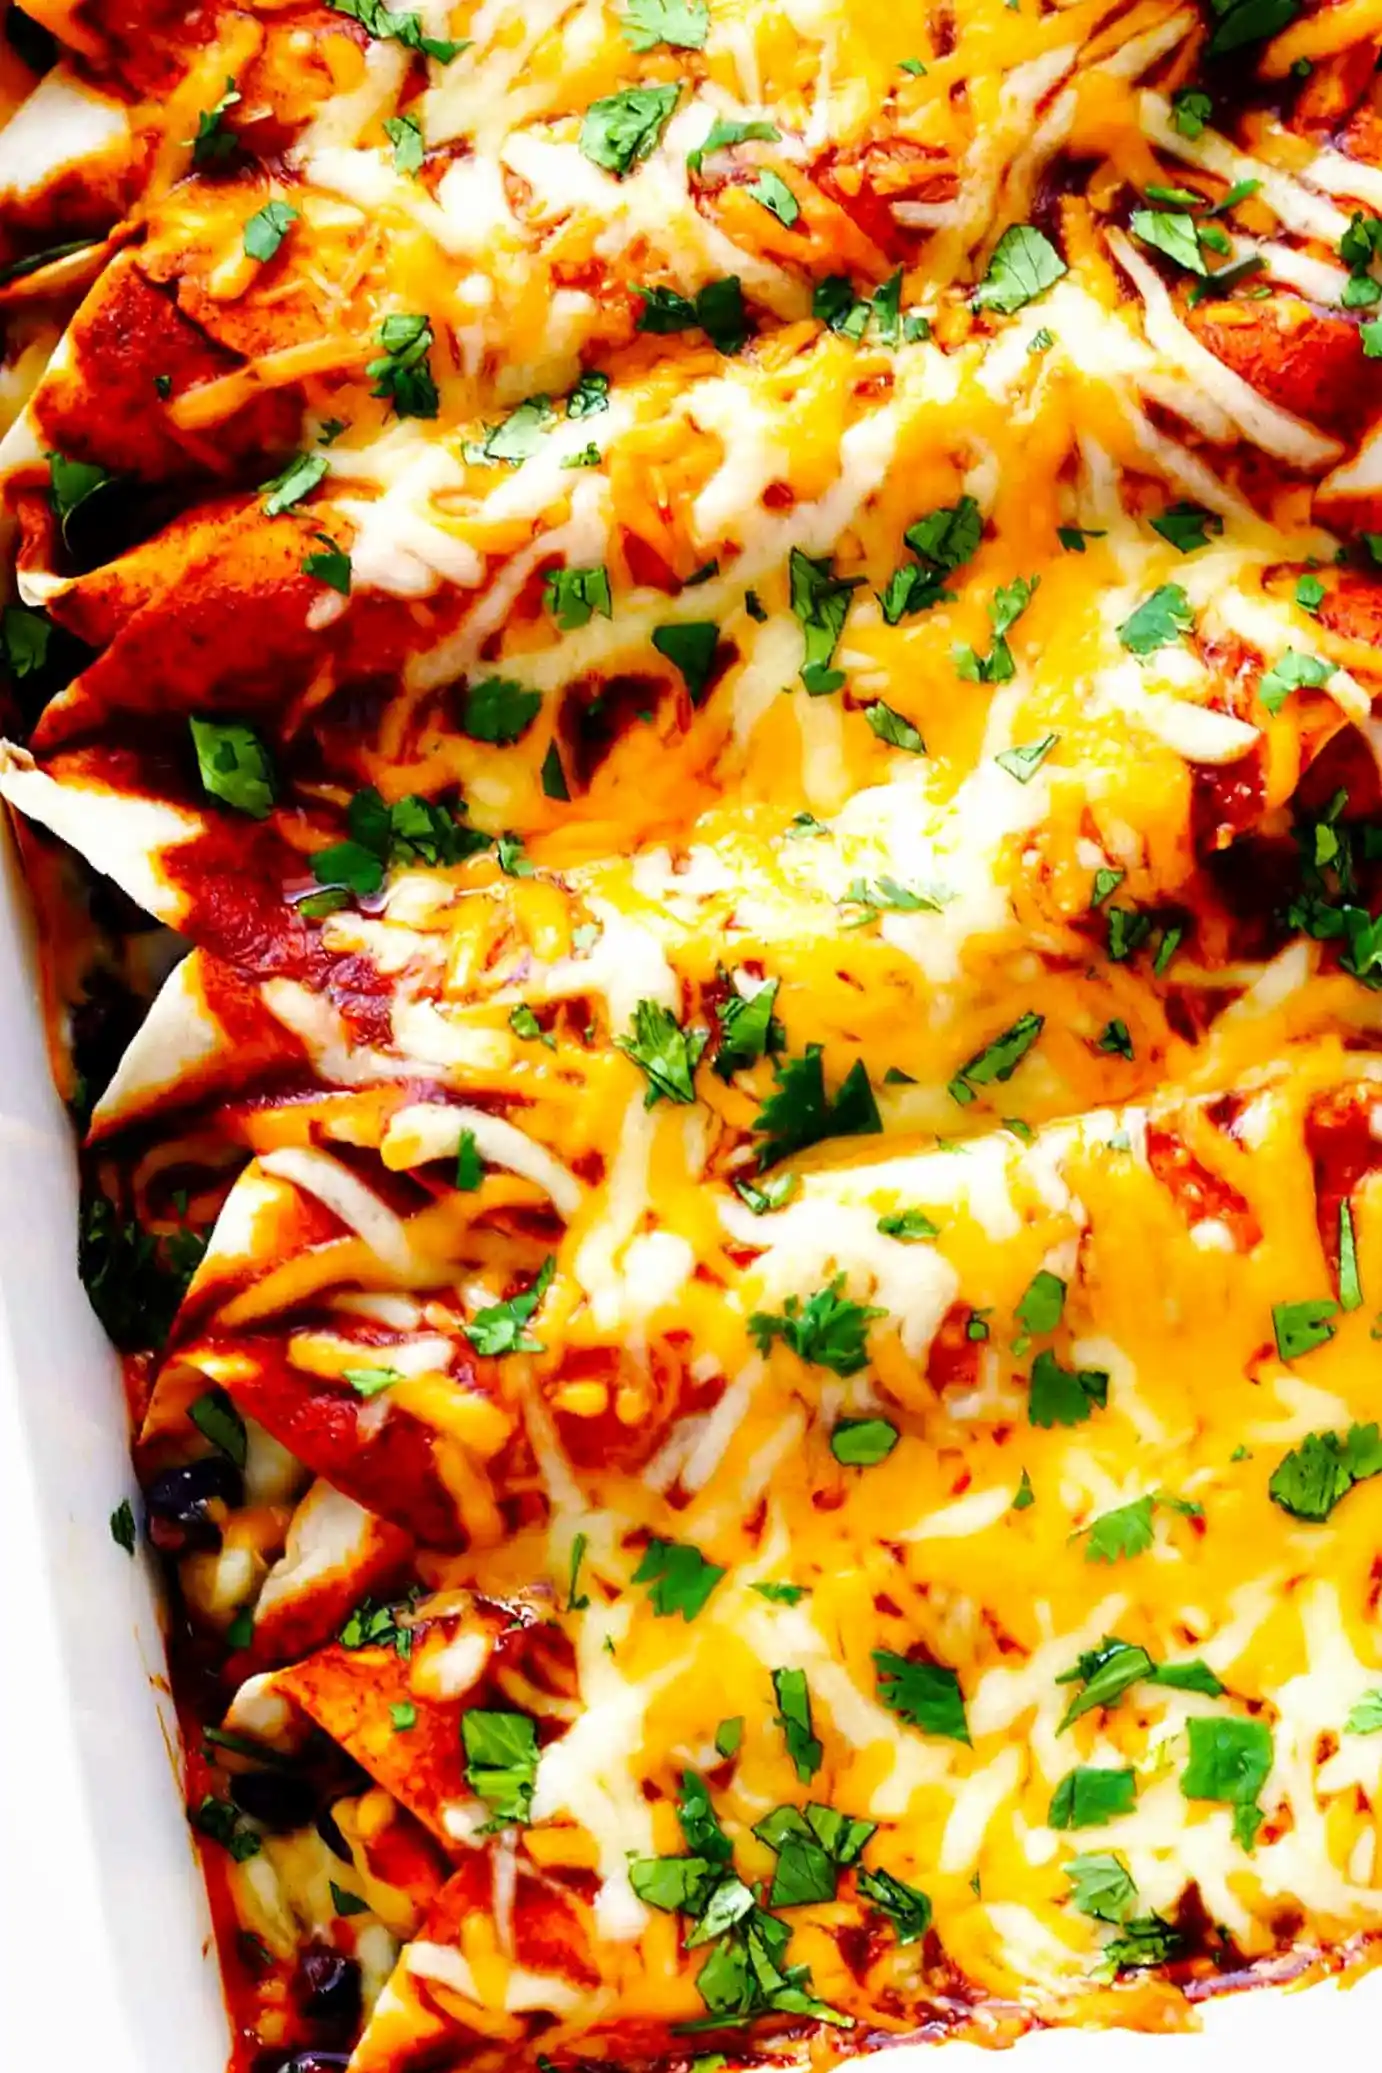
These classic chicken enchiladas are a flavorful, comforting meal that brings restaurant-quality depth to your home kitchen. By combining tender sautéed chicken, zesty green chiles, and a rich, savory red sauce, you create a balanced dinner that satisfies every palate. This recipe is designed to be approachable for busy weeknights while remaining impressive enough to serve at any gathering.
List of ingredients
- 2 tablespoons avocado oil
- 1 small white onion, peeled and diced
- 1 1/2 pounds boneless skinless chicken breasts, diced into small 1/2-inch pieces
- 1 (4-ounce) can diced green chiles
- Sea salt and freshly-cracked black pepper to taste
- 1 (15-ounce) can black beans, rinsed and drained
- 8 large flour tortillas
- 3 cups Mexican-blend shredded cheese
- 1 batch red enchilada sauce
- Optional toppings: fresh cilantro, chopped red onions, diced avocado, sour cream, and crumbled cotija cheese
step-by-step instructions
- Step: Preheat oven to 350°F and prepare your red enchilada sauce.
- Step: In a large sauté pan, heat oil over medium-high heat. Add onion and sauté for 3 minutes.
- Step: Add diced chicken and green chiles; season with salt and pepper. Sauté for 6-8 minutes until chicken is cooked through.
- Step: Stir in the black beans, combine evenly, remove from heat, and set aside.
- Step: Assemble by spreading two tablespoons of sauce on each tortilla, adding a spoonful of chicken mixture and 1/3 cup of cheese. Roll tightly and place in a greased 9×13-inch baking dish.
- Step: Spread any remaining sauce over the top of the rolled tortillas and sprinkle with the extra cheese.
- Step: Bake uncovered for 20 minutes until the enchiladas are hot, bubbly, and the tortillas are slightly crispy.
- Step: Serve immediately with desired fresh toppings.
Refining Your Enchilada Technique
Achieving the perfect chicken consistency
To ensure your chicken remains tender throughout the cooking process, avoid over-sautéing the small pieces. Because the chicken will undergo a second round of heat while the enchiladas bake in the oven, it is best to cook the meat just until it is opaque and firm in the pan. If the chicken is cooked until dry during the sautéing stage, it will become stringy and tough once the dish is fully finished. Aiming for small, uniform 1/2-inch cubes allows the meat to distribute evenly across all eight tortillas, ensuring every bite contains a good protein-to-bean ratio.
The importance of the assembly station
Organizing a proper assembly line significantly reduces the prep time and mess associated with rolling enchiladas. Place the baking dish near the stove, followed by the tortillas, the bowl of warm chicken filling, and the shredded cheese. By having your ingredients within arm’s reach, you prevent the tortillas from sitting too long and becoming cold or brittle. Working efficiently keeps the sauce warm and ensures the cheese begins to melt into the filling as soon as it hits the oven, creating a cohesive texture within the wrap.
Substitutions and Dietary Adjustments
Exploring protein alternatives
While chicken breasts provide a lean and classic profile, you can easily adapt this dish to use other proteins based on what is available in your pantry. Shredded rotisserie chicken is an excellent time-saver, as it is already cooked and seasoned, requiring only a quick stir with the green chiles and beans. For a more robust flavor, cooked ground turkey or finely diced beef can replace the chicken, offering a slightly heartier experience. If you prefer a vegetarian approach, focus on doubling the variety of beans or incorporating sautéed mushrooms, which mimic the savory, meaty texture often found in traditional meat-based fillings.
Selecting the right tortillas
Flour tortillas are favored for their durability and ease of rolling, which is especially helpful for beginner cooks. However, if you are seeking a more authentic profile, corn tortillas are the traditional choice and offer a distinct, earthy corn flavor. Because corn tortillas are prone to cracking when rolled, they require a quick preparation step before assembly. Briefly dip each tortilla into the warm enchilada sauce or flash-fry them for 10 seconds in a lightly oiled pan to increase their elasticity. Once softened, they can be filled and rolled just as easily as flour tortillas, providing a more robust chew and structural integrity.
Maximizing Freshness and Serving Styles
Selecting premium shredded cheese
The choice of cheese significantly impacts the final result of your enchiladas. A Mexican-blend cheese is ideal because it typically combines varieties that melt at different rates, providing both a stringy texture and a rich, creamy mouthfeel. When possible, shred your cheese from a block rather than using pre-shredded varieties, as the latter often contains potato starch that prevents the cheese from melting into a perfectly smooth layer. Asadero, Oaxaca, or Pepper Jack are excellent individual choices if you want to experiment with specific flavor profiles, such as adding a bit of spice or a deeper, buttery quality to the dish.
Curating your garnish display
Toppings are not merely decorative; they are essential for balancing the intensity of the spiced sauce. Offer a variety of textures and temperatures to your guests by providing chopped red onions for crunch and brightness, and diced avocados for a creamy, neutral contrast. Pickled red onions can be a fantastic addition if you want a sharp acidity that pierces through the richness of the cheese. Fresh cilantro provides an herbal aroma that lifts the flavor of the entire dish, while a dollop of sour cream or Mexican crema serves to soothe any lingering heat from the green chiles, making the meal more approachable for those who are sensitive to spice.
Planning, Storage, and Reheating
Smart make-ahead techniques
Enchiladas are one of the most forgiving dishes for meal planning, as they actually improve in flavor as the sauce permeates the tortillas. To prepare this meal in advance, complete the assembly steps up to the point of adding the sauce and final layer of cheese. Instead of baking, cover the dish tightly with plastic wrap and then aluminum foil to prevent the edges from drying out in the refrigerator. When you are ready to eat, simply remove the plastic and bake according to the instructions, adding about 5 to 10 minutes to the total time if the dish is going straight from the refrigerator to a cold oven.
Strategies for long-term freezing
If you intend to freeze the enchiladas, it is best to assemble them in an aluminum baking tray, which can transition seamlessly from the freezer to the oven. Wrap the container twice with heavy-duty foil to prevent freezer burn, which can ruin the texture of the tortillas over time. When ready to serve, thaw the dish in the refrigerator for 24 hours to ensure that the middle reaches a safe temperature during baking. This method allows you to have a homemade, comforting meal ready at a moment’s notice, perfect for quick dinners or when you have limited time for extensive preparation.
Effective reheating practices
Leftover enchiladas should be stored in an airtight container to maintain moisture, as the sauce can be absorbed by the tortillas overnight in the fridge. When reheating a single portion, a microwave is convenient, but you should place a damp paper towel over the plate to prevent the edges of the tortilla from becoming tough or chewy. If you have the time, reheating in a toaster oven or standard oven at 325°F is superior, as it allows the cheese to re-melt and the bottom of the tortillas to retain their slight crispness. Adding a fresh splash of extra enchilada sauce before reheating can also help revive the dish, providing the necessary moisture that might have been lost during storage.
Common Questions Addressed
How can I prevent the tortillas from becoming soggy?
Sogginess is often caused by using too much sauce on the outside or overcooking the dish. Ensure that you are only using the recommended amount of sauce for the base of each tortilla during assembly. If you prefer a firmer texture, lightly browning the tortillas in a pan before filling them creates a barrier that keeps the interior structure intact during the baking process.
Can I replace the red sauce with a green one?
Replacing the red sauce with a green tomatillo-based sauce is a simple swap that transforms the entire flavor profile into a bright, tangy version of the classic. The steps remain exactly the same, but the resulting dish will have a higher acidity and a punchier, zesty finish. Ensure your green sauce is thick enough to cling to the rolls; if it seems too thin, you can simmer it on the stovetop to reduce it before using.
What is the ideal way to avoid spicy heat?
The green chiles provide the bulk of the spice in this recipe. To tone down the intensity, you can omit the canned green chiles entirely or replace them with an equal amount of finely diced bell pepper for color and texture without the heat. Using a milder cheese like Monterey Jack or a plain Mozzarella will also keep the palate feeling cool, which is helpful when serving children or guests who prefer a more subtle flavor profile.
Print
Classic Chicken Enchiladas
- Total Time: 60 minutes
- Yield: 8 servings 1x
- Diet: High Protein
Description
My all-time favorite chicken enchilada recipe! These Tex-Mex style enchiladas are easy to make with a filling of sautéed chicken, green chiles, onions, beans, and melted cheese, all rolled up in soft tortillas and smothered in a delicious homemade red sauce.
Ingredients
- 2 tablespoons avocado oil
- 1 small white onion, peeled and diced
- 1 1/2 pounds boneless skinless chicken breasts, diced into small 1/2-inch pieces
- 1 (4-ounce) can diced green chiles
- Sea salt and freshly-cracked black pepper to taste
- 1 (15-ounce) can black beans, rinsed and drained
- 8 large flour tortillas
- 3 cups Mexican-blend shredded cheese
- 1 batch red enchilada sauce
- Optional toppings: fresh cilantro, chopped red onions, diced avocado, sour cream, and crumbled cotija cheese
Instructions
- Step: Preheat oven to 350°F and prepare your red enchilada sauce.
- Step: In a large sauté pan, heat oil over medium-high heat. Add onion and sauté for 3 minutes.
- Step: Add diced chicken and green chiles; season with salt and pepper. Sauté for 6-8 minutes until chicken is cooked through.
- Step: Stir in the black beans, combine evenly, remove from heat, and set aside.
- Step: Assemble by spreading two tablespoons of sauce on each tortilla, adding a spoonful of chicken mixture and 1/3 cup of cheese. Roll tightly and place in a greased 9×13-inch baking dish.
- Step: Spread any remaining sauce over the top of the rolled tortillas and sprinkle with the extra cheese.
- Step: Bake uncovered for 20 minutes until the enchiladas are hot, bubbly, and the tortillas are slightly crispy.
- Step: Serve immediately with desired fresh toppings.
Notes
Leftover cooked enchiladas can be refrigerated for up to 3 days or frozen for up to 3 months. To make ahead, assemble through the final step, cover tightly, and refrigerate or freeze before baking.
- Prep Time: 15 minutes
- Cook Time: 45 minutes
- Category: Main Course
- Method: Baking
- Cuisine: Mexican
Nutrition
- Serving Size: 1 enchilada
- Calories: 480 kcal
- Sugar: 4 g
- Sodium: 850 mg
- Fat: 22 g
- Saturated Fat: 9 g
- Unsaturated Fat: 11 g
- Trans Fat: 0 g
- Carbohydrates: 42 g
- Fiber: 6 g
- Protein: 32 g
- Cholesterol: 85 mg